Setup AutoBuy
This guide will walk you through the steps to set up AutoBuy on your account. Follow the instructions carefully to ensure everything is configured correctly.
🛠️ Step-by-Step Instructions
caution
Note: Make sure to use firefox for this setup!
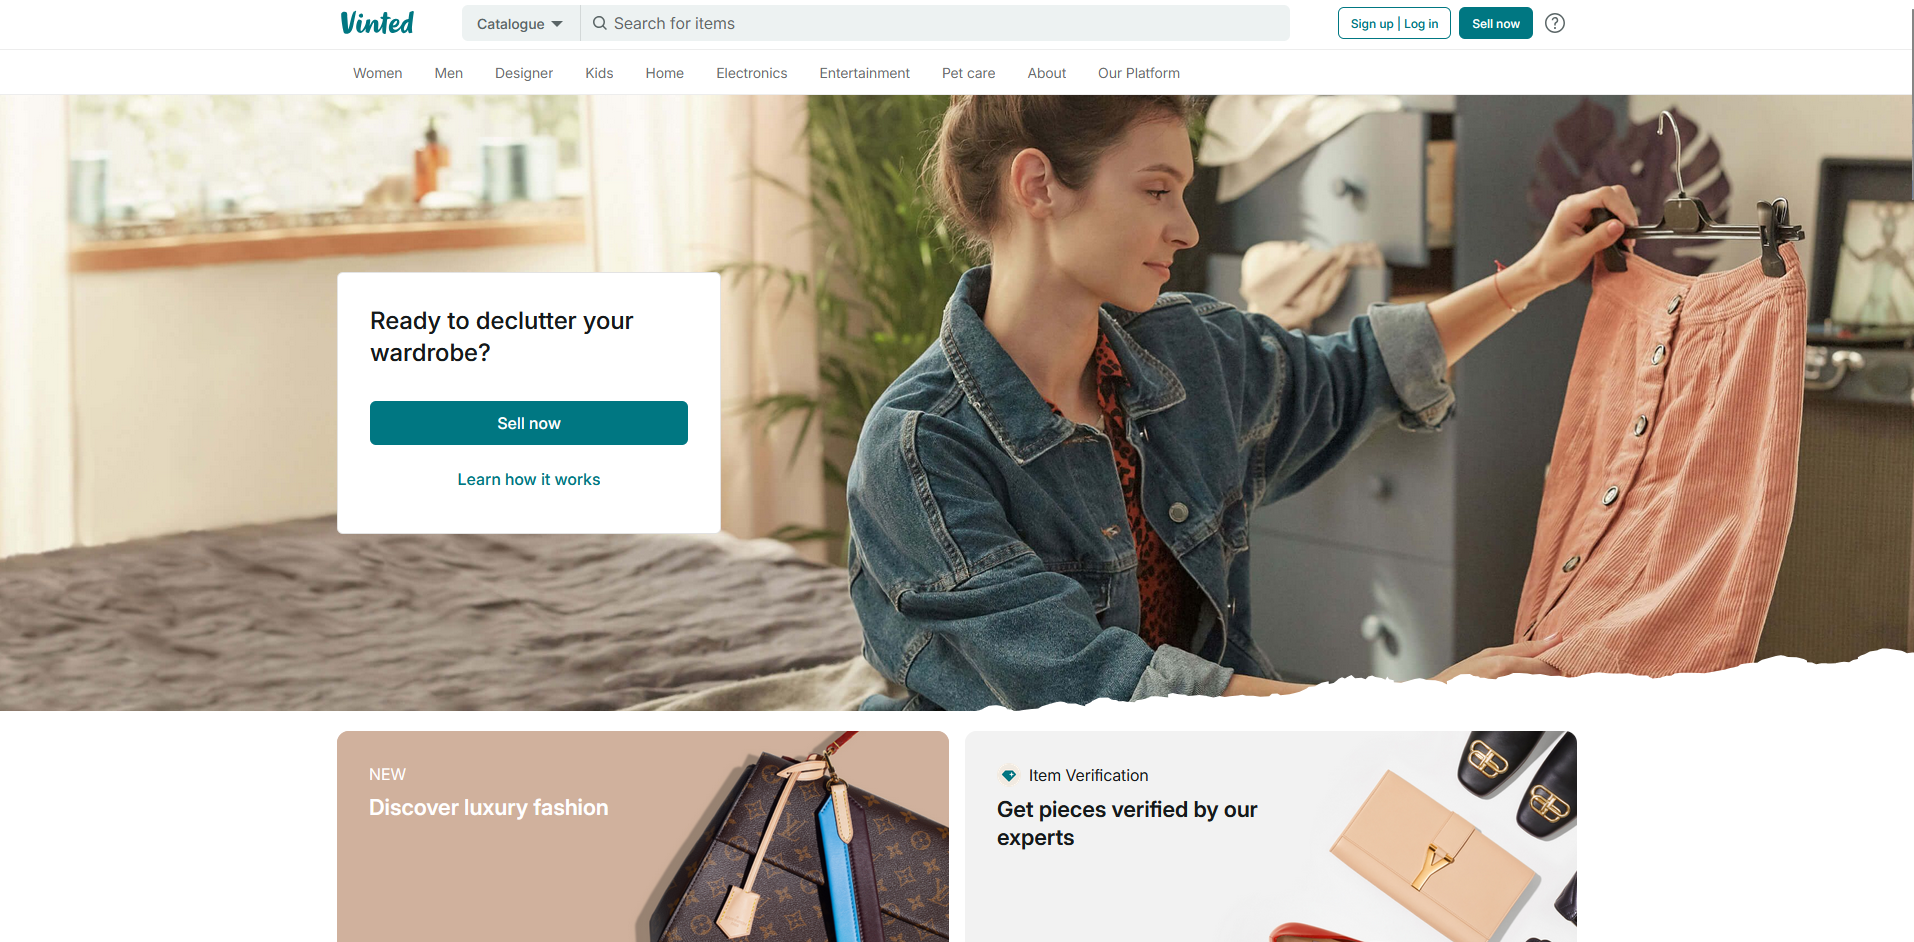
1. Start at Vinted
- Navigate to https://vinted.co.uk.
- Important: Make sure you are logged out of your Vinted account before starting.
2. Open Inspect Mode
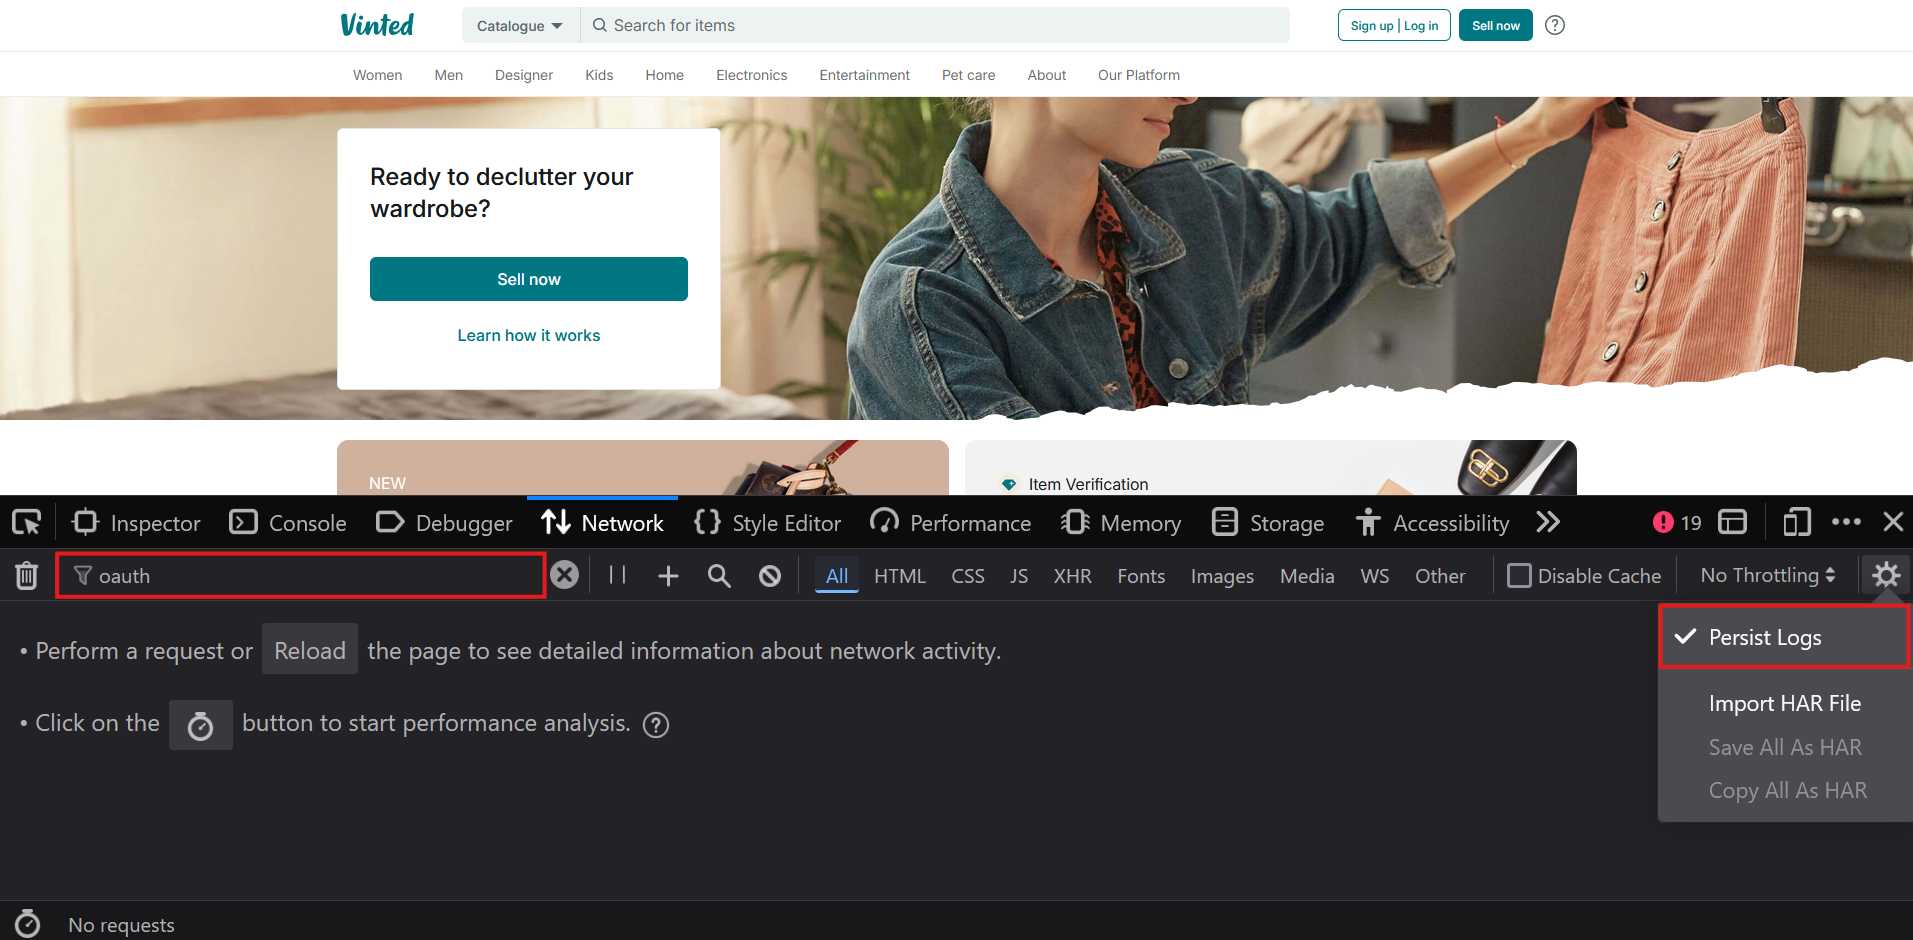
- Right-click anywhere on the page or press
F12to open the browser's Inspect Tool. - Go to the Network tab.
- In the search bar, type
"oauth"to filter the requests. - Check the box for Preserve log to keep track of all network activity.
3. Log In to Vinted
- Log in to your Vinted account.
note
Note: You can only log in using email login. Login via Google or other providers is not supported. :::
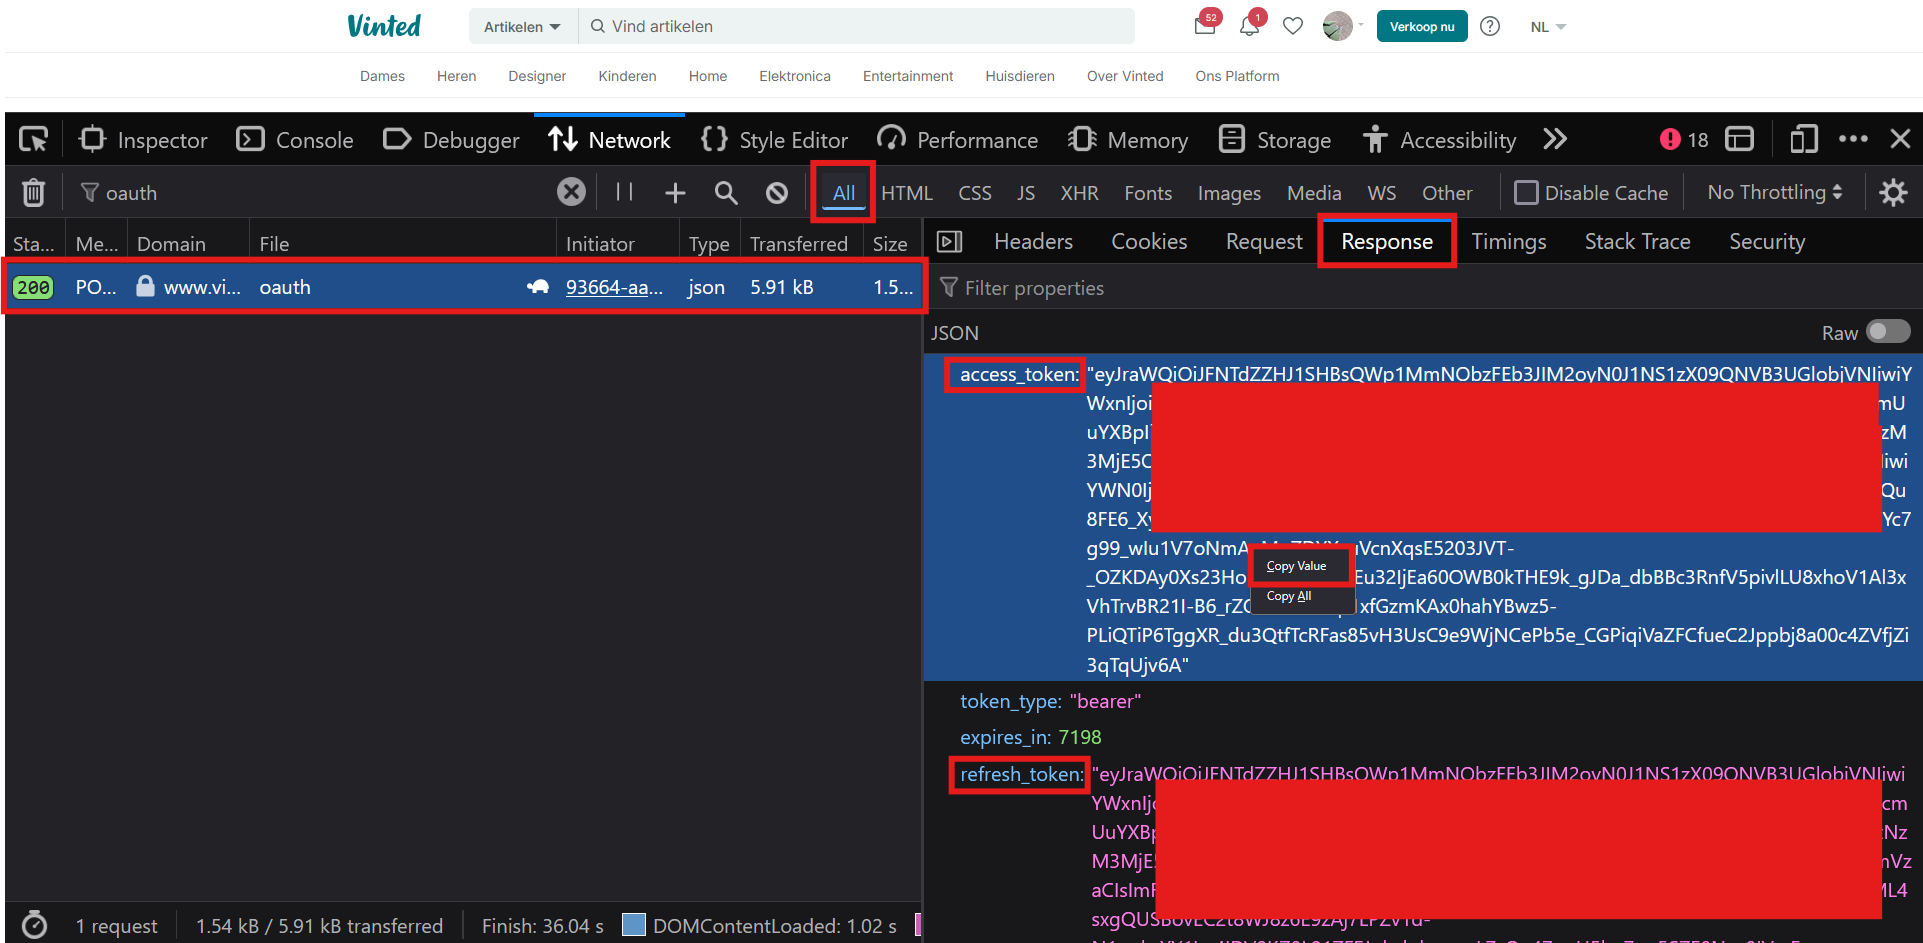
- Once logged in, find the "oauth" request in the Network tab.
- Click on the request and go to the Response tab.
- Look for your Access Token and Refresh Token.
4. Copy Tokens
- Right-click on the Access Token value and select Copy as Value.
- Do the same for the Refresh Token.
5. Paste Tokens on VintiePlus Edit Profile Page
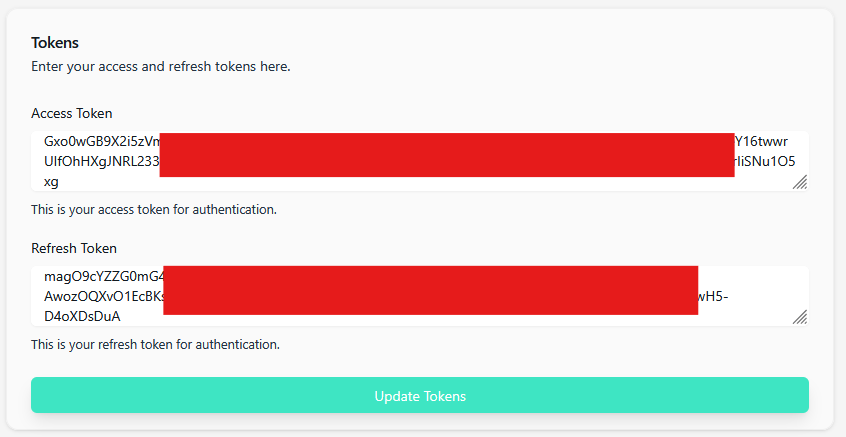
- Navigate to https://app.vintieplus.com/profile.
- Paste the copied Access Token and Refresh Token into the respective text areas.
- Click on Update Tokens to save them.
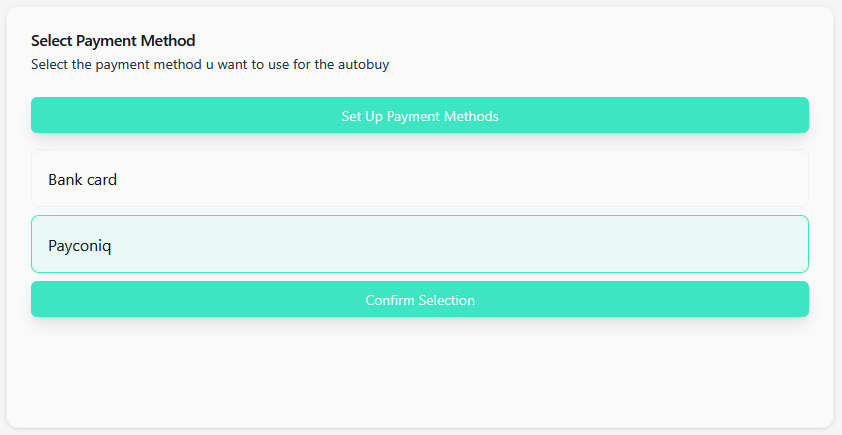
6. Set Up Payment Method
- Click on Set up payment method.
- Choose your preferred payment method and confirm your selection.
7. Set Up Shipping Options
You can choose between Home Shipping or Pickup Points:
Home Shipping
- Click on Setup Home Shipping.
- Your home shipping will be configured automatically. You're ready to go!
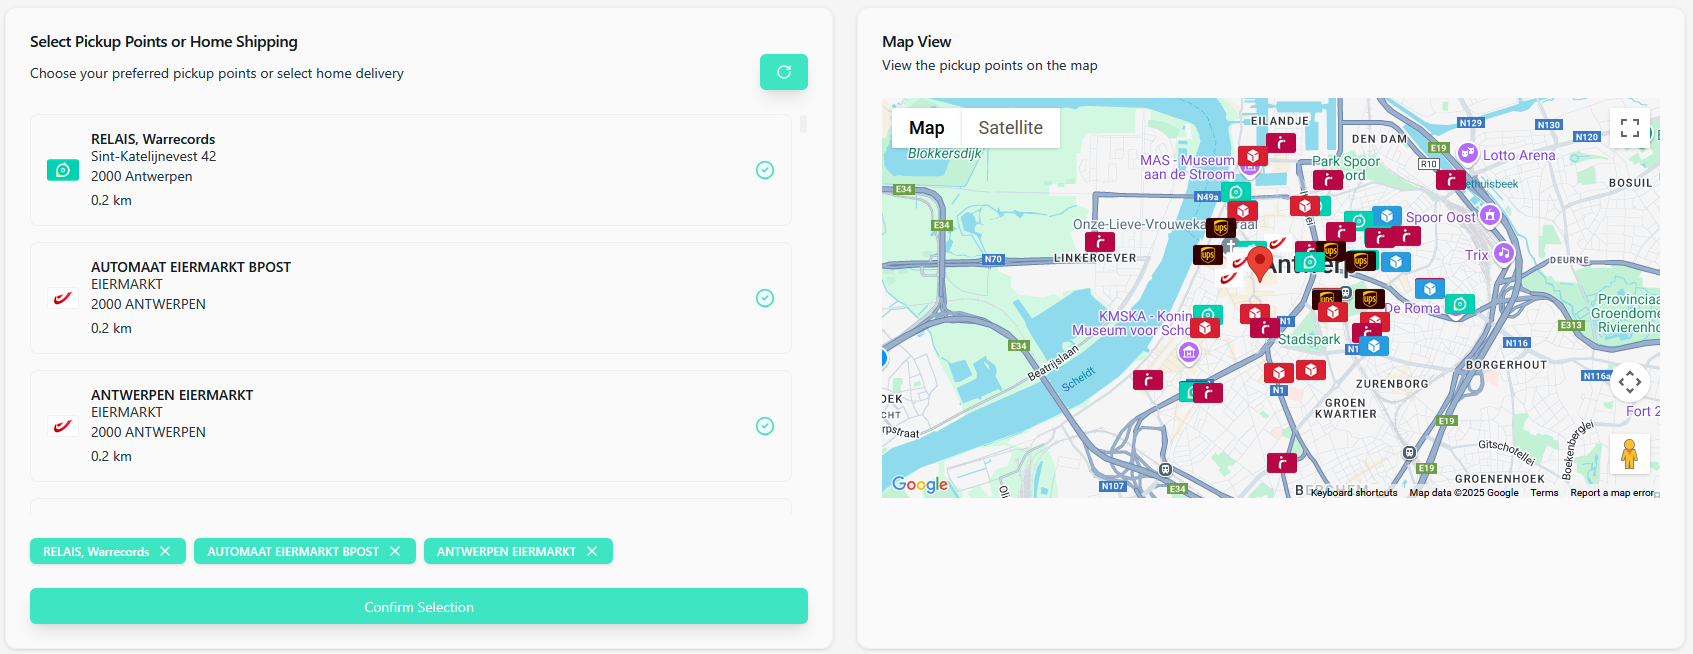
Pickup Points
- Click on Setup Pickup Points.
- Wait a few moments while the pickup points are loaded.
- Select as many pickup points as you want from the map or the list.
- Once you've selected all your desired pickup points, click Confirm to save them.
8. Final Steps
- Refresh your page.
- Check for the following:
- No red label at the top of the page.
- Your address is pinned correctly on the map.
🚀 You're Ready to Go!
Once everything is configured, you can head to the Monitor page to start sniping items with AutoBuy enabled. Good luck and happy sniping!